Page
1 Page
2 Page
3 Page
4 Page
5 Page
6 Page
7 Page
8 Page
9
Page
10 Page
11 Page
12 Page
13 Page
14 Page
15 Page
16 Page
17 Page
18
Page
19 Page
20 Page
21 Page
22 Night
Driving (23) Making
Tires (24) Brass
Chassis (25)
Switching Scales (26) Routed
HO (27) Rails
Installed (28) Oval
Action (29)
New
1/32 Beginning (30) Construction
(31) Routing
(32) Painting
and Taping
(33) Power Taps
and Timing
(34)
Up and Running (35) Scenery
(36) More Slot
Racing (37)
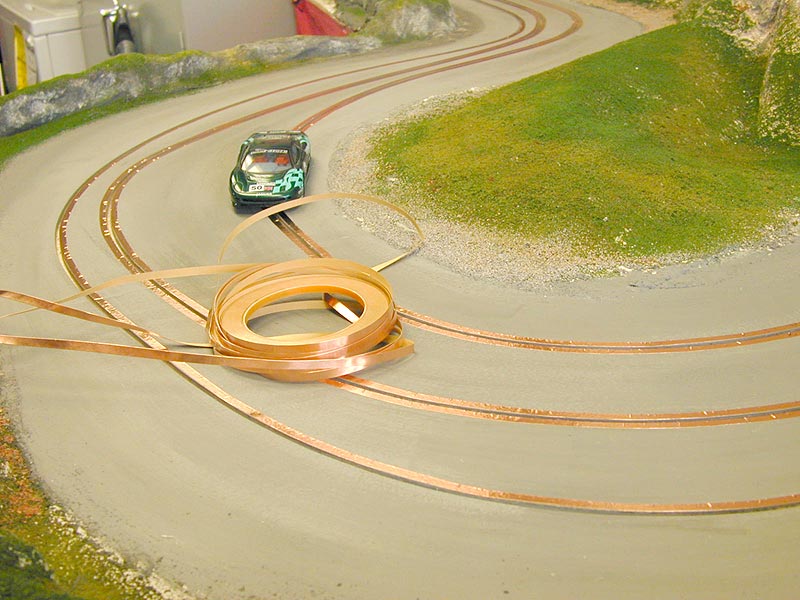
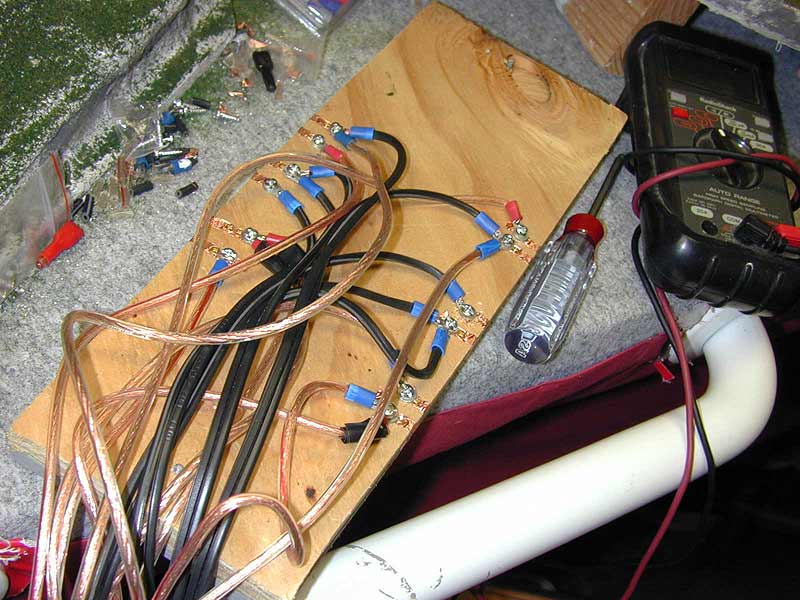
Once again, it took a whole day to lay copper and figure out the wiring.
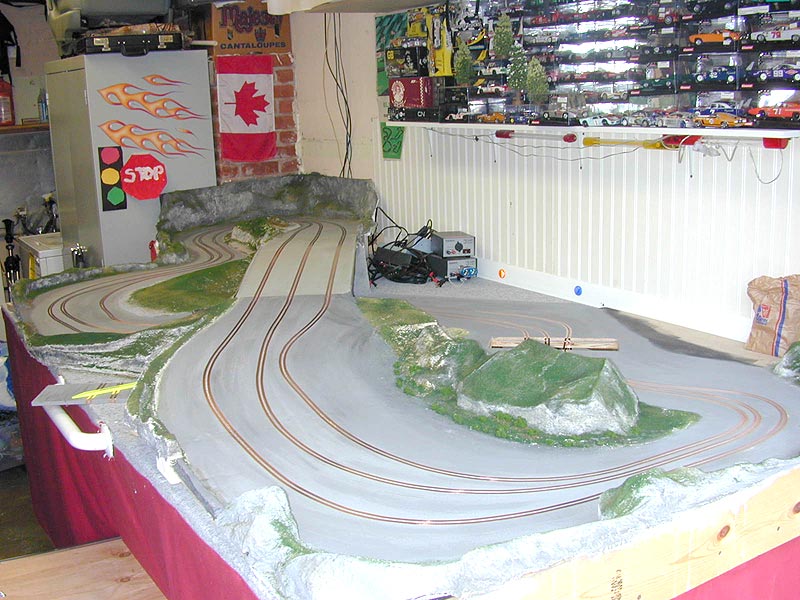
Then I realized that I really do need
to get underneath that table. In the
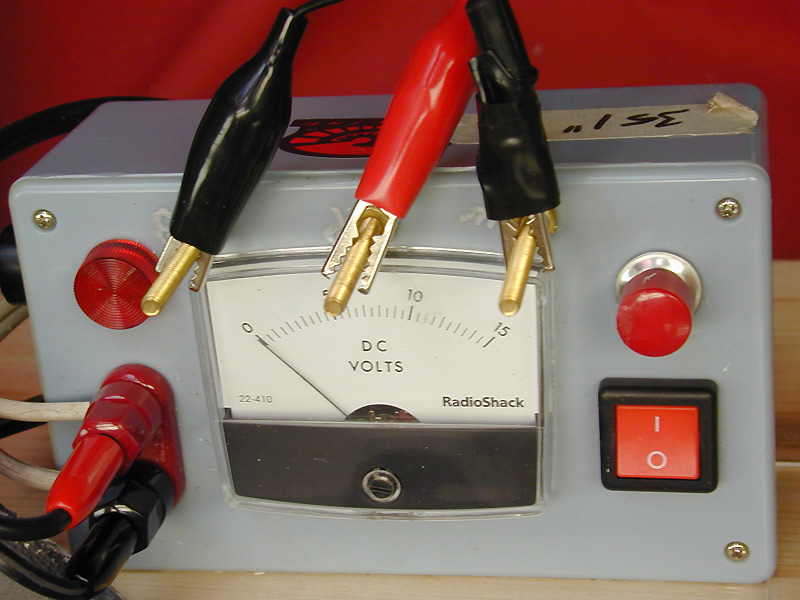
next 24 hours, this track will be complete! I have all three control panels
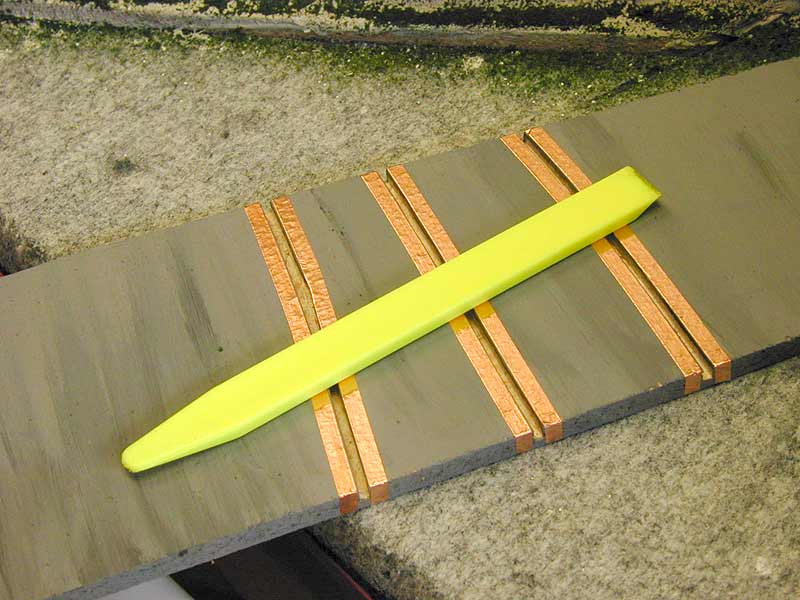
that will be placed around the table. The most important tool, other than
a router, is that yellow stick that looks
like a highlighter. It's a solid piece of plastic used to smooth out all
those little mistakes I made laying the copper.
It is a miracle tool that does not rip or tear the thin copper.
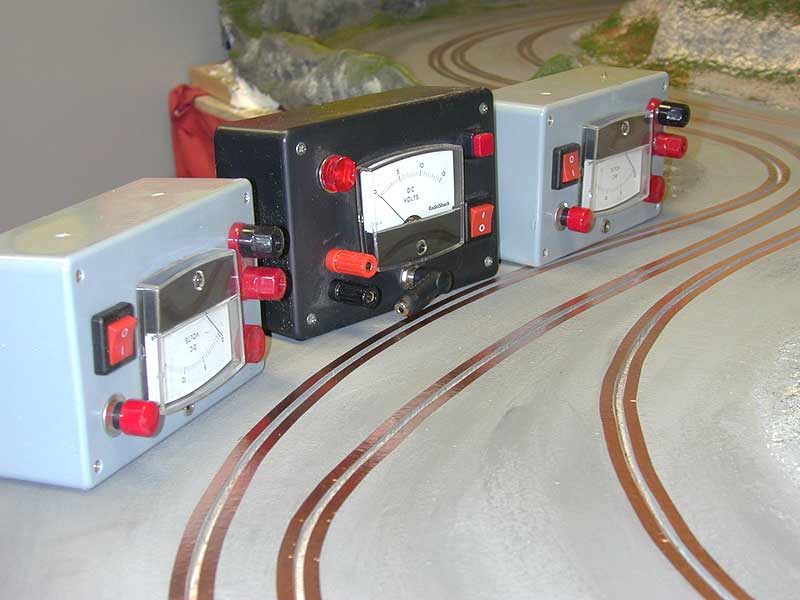
I tested the track with my ohm meter and
found it read a consistent 1.3 ohms on each lane from the bridge to the
track directly below it. I figure that's pretty solid. My power tap is all
set to go. Everything is modular here. I can
easily unscrew the two layers and use my router on the underside of the piece
for my soon-to-arrive lap timing
sensors. The wiring will not be in the way of the wires since they can easily
me moved aside. I have a jumper wire for
each half of the connection and the extra wires on each lane are the power
leads from the control panels. I will use
a distribution panel below to aid in future modifications/changes.