Page
1 Page
2 Page
3 Page
4 Page
5 Page
6 Page
7 Page
8 Page
9 |
||
After:
|
||
| Only half of the original inside lane remains untouched:
More bondo:
|
||
Painting is underway:
Waiting for the paint to dry - had to touch up other areas like the inside lane of the hairpin curve:
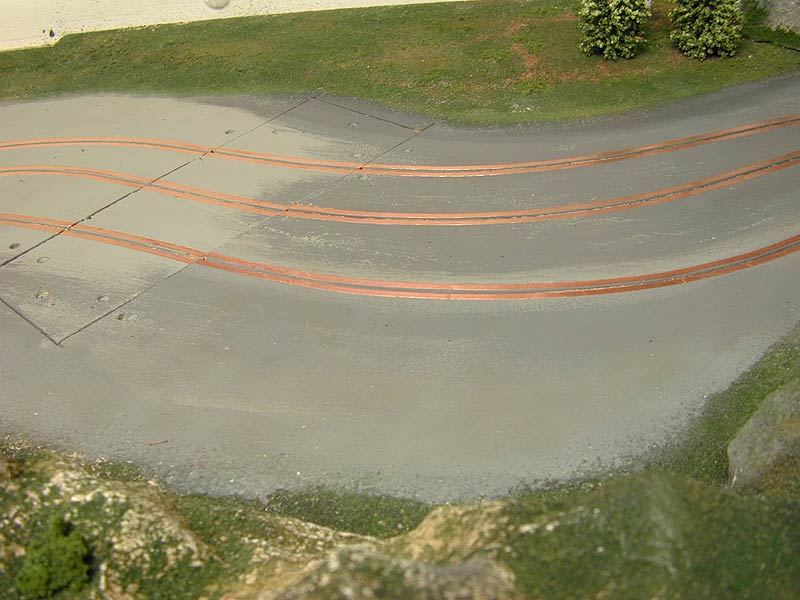
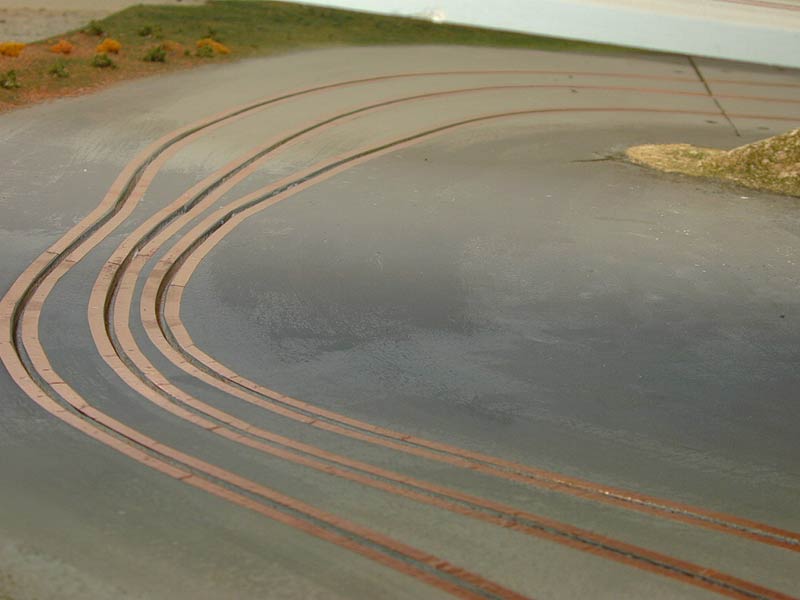
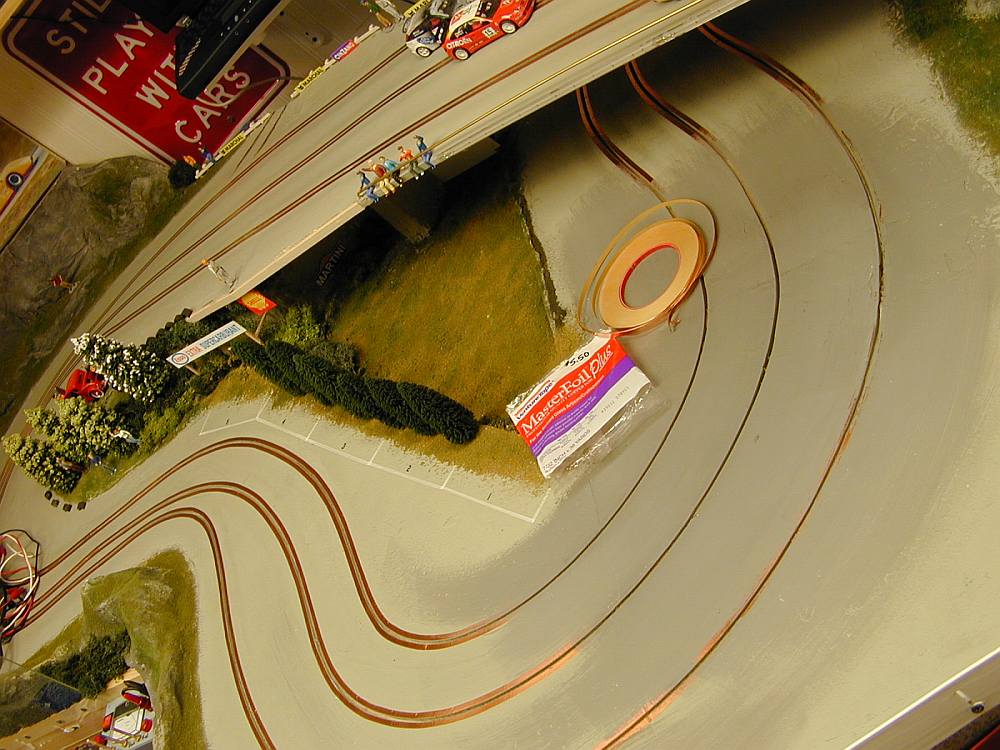
Took about two hours to tape off different lengths of new section. I checked each one for continuity: 0.8 ohms on each rail.
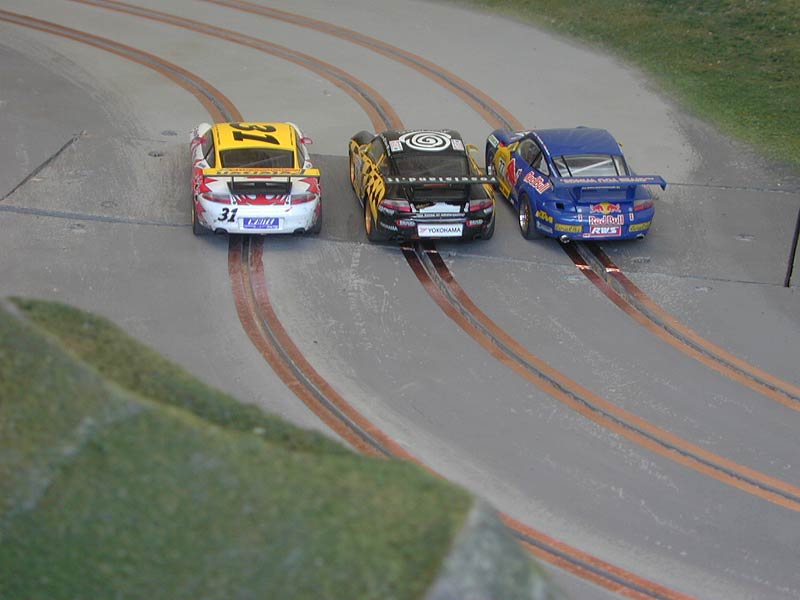
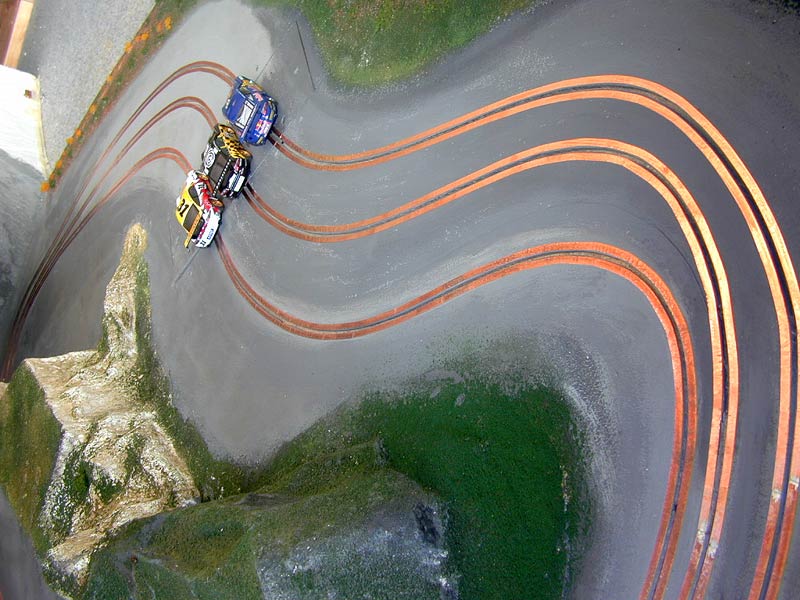
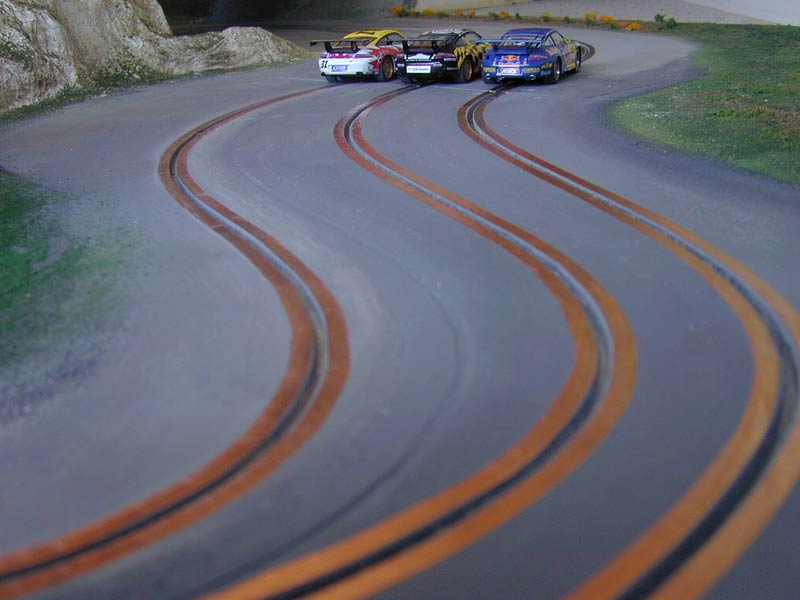
It's smoother than before and hopefully a little more competitive.
Looks like it's done... For now.
To be installed: Computer sensors. These are going in before I reattach the power taps!
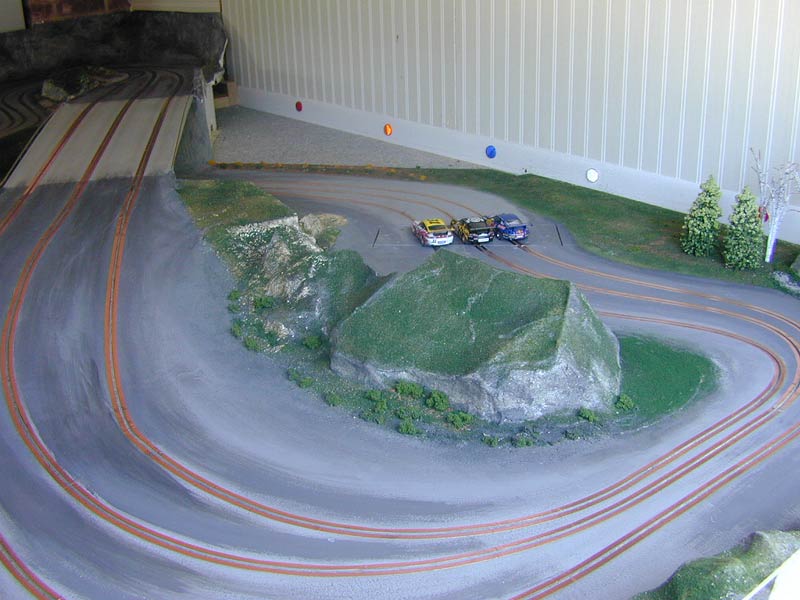
Room for three now. Complete with computer timing below.
Complete!
ALL DONE! (for now)
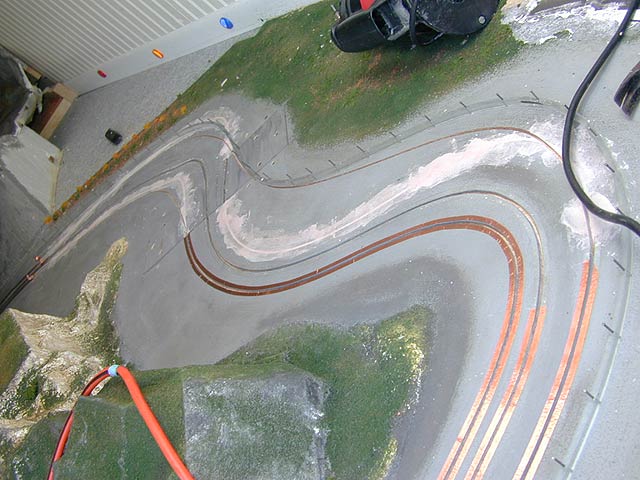
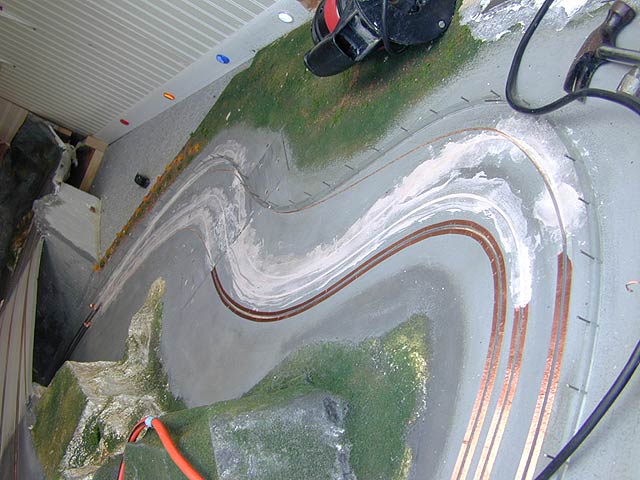
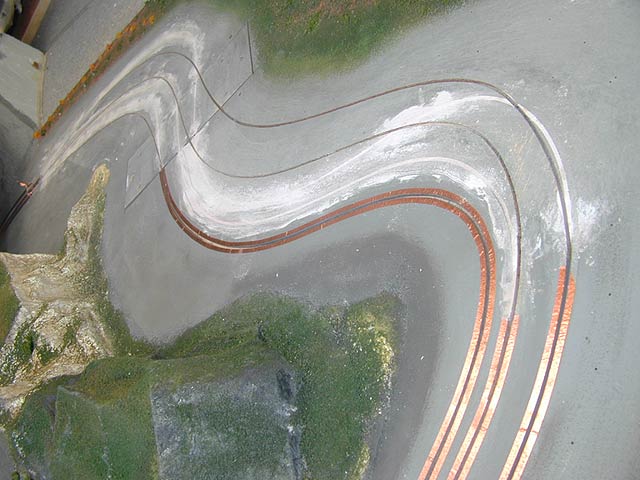
Discovered the middle lane had a slot issue...plus it was bumpy and cracked since I took a short cut and used spackle instead of bondo...worked for a year but got really bad. So, I removed the offending material, whipped up some bondo and covered the innermost two lanes...leaving the outer one as a guide for the router. After two coats of bondo, I slapped some left over paint on it...not sure what to call this area...perhaps a water washout area? Maybe that infield will be water someday! Used 7/32 copper foil tape (1mm thick). Simply laid it over and soldered the ended to ensure good connection. As always, only 0.8ohms resistance...almost nothing! Perfect...after running the laps the track is finally in top condition for competitive racing in any lane.
|
Page
1 Page
2 Page
3 Page
4 Page
5 Page
6 Page
7 Page
8 Page
9
Page
10 Page
11 Page
12 Page
13 Page
14 Page
15 Page
16 Page
17 Page
18
Page
19 Page
20 Page
21 Page
22 Night
Driving (23) Making
Tires (24) Brass
Chassis (25)
Switching Scales (26) Routed
HO (27) Rails
Installed (28) Oval
Action (29)
New
1/32 Beginning (30) Construction
(31) Routing
(32) Painting
and Taping
(33) Power Taps
and Timing
(34)
Up and Running (35) Scenery
(36) More Slot
Racing (37)
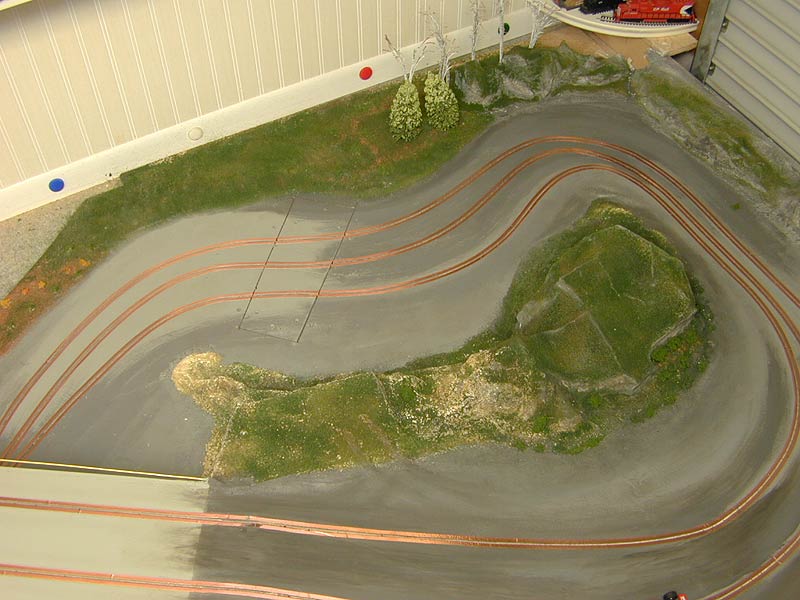
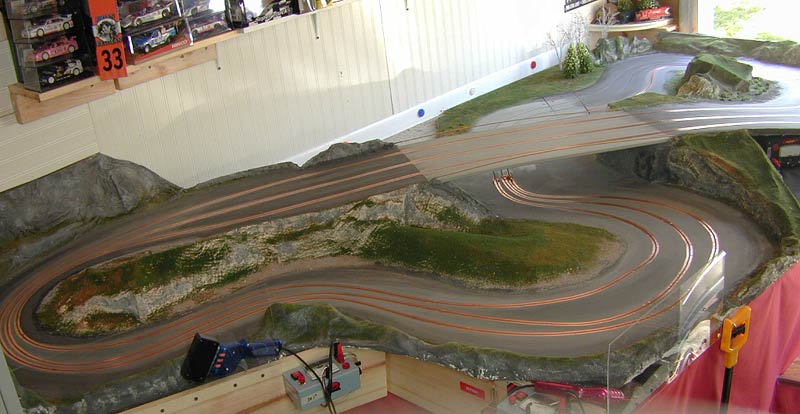
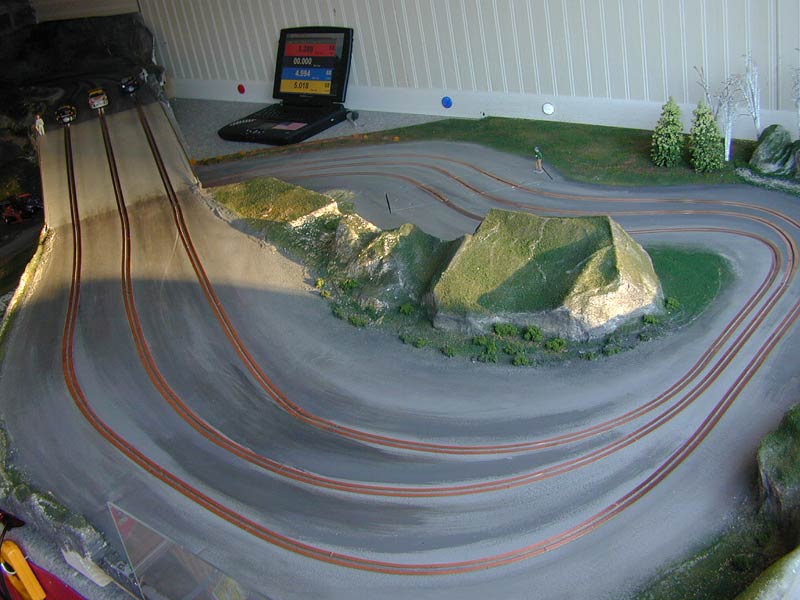
I decided to redo the "back 40" of my track. I constructed my track in modular sections and by the time I got to the last section, the racing lines were somewhat "amateur" in their performance and look. So, with the help of a little bondo, the three lanes were re-routed.
As a bonus, I now have room for my lap timing hardware; it is routed into the underside of the removable section and finally allows computer controlled racing! Under 5 seconds is a pretty good time. And that's with the restrictor plate reading 8 volts! Time to race! Bye.
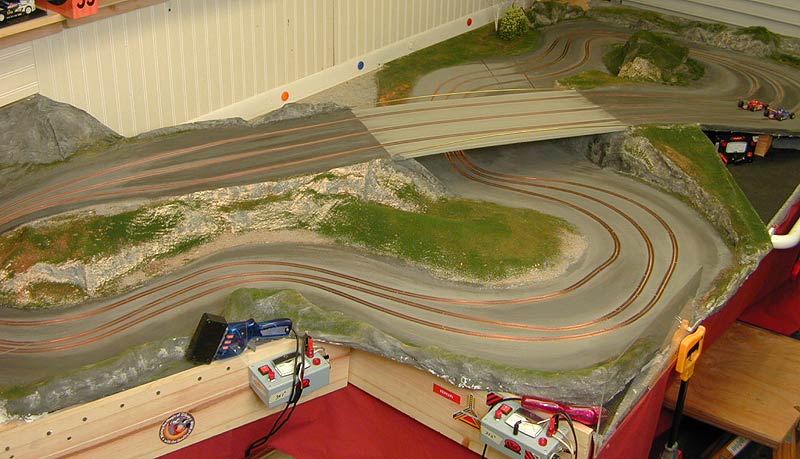
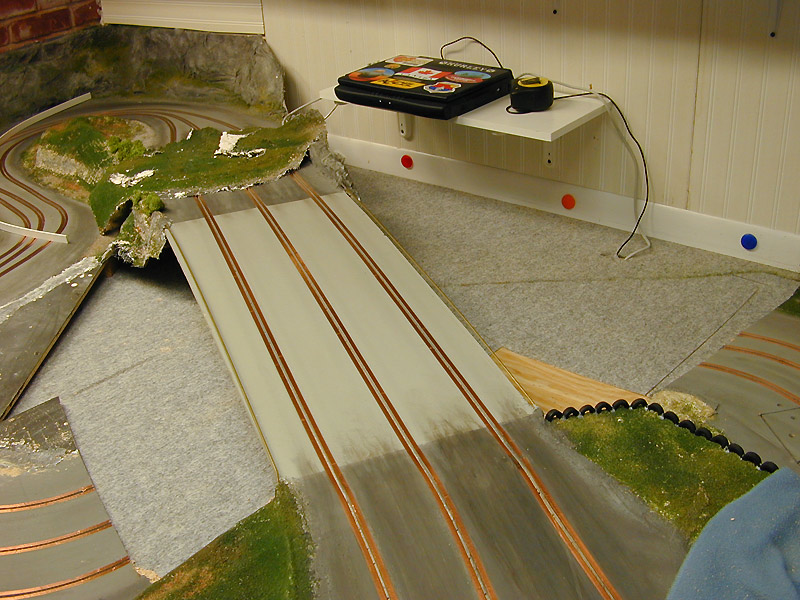
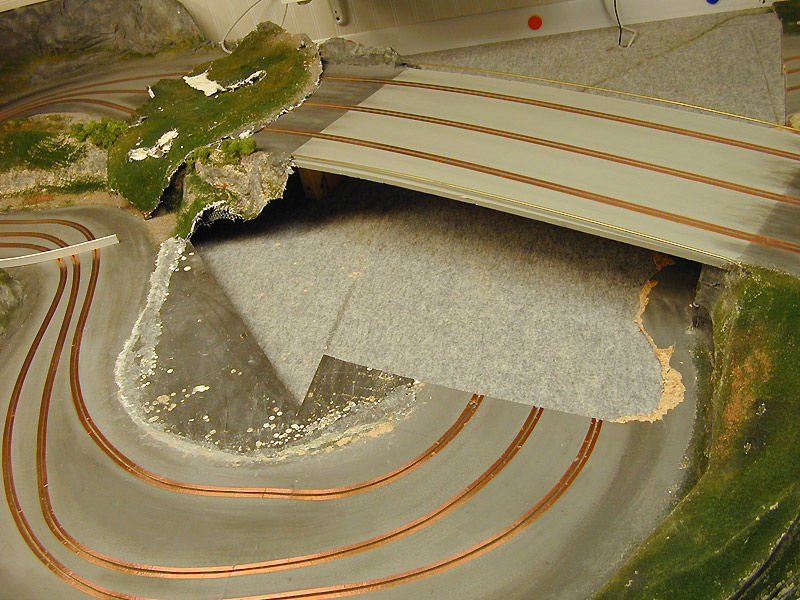
I'm back - after a time, I nneded to rerouter underneath the overpass...without removing the overpass. The last photos give you an idea of what was involved. Its now smoother and faster than ever.
All Images Copyright Michael Nyberg
2007
All Rights Reserved
Visit: www.outriggercanoe.com