Page
1 Page
2 Page
3 Page
4 Page
5 Page
6 Page
7 Page
8 Page
9 |
||
The
rails arrived. Because of the shape of the rails (round) I was
able to carefully push them in the slot from one end. The result
is a very soft round top side. Perfect to save your pickup shoes
from the dreaded Aurora track!! It's the best idea I have seen
yet to make a
slot
car
track in wood.
The plastic laminate holds up well but a couple of slots on the
curves sheared at the end - you can just see the cracks. I am beefing
that up with wood glue and clamps - should do the trick. If not,
I will resort to a bit of fiberglass resin. Not a big deal for
sure.
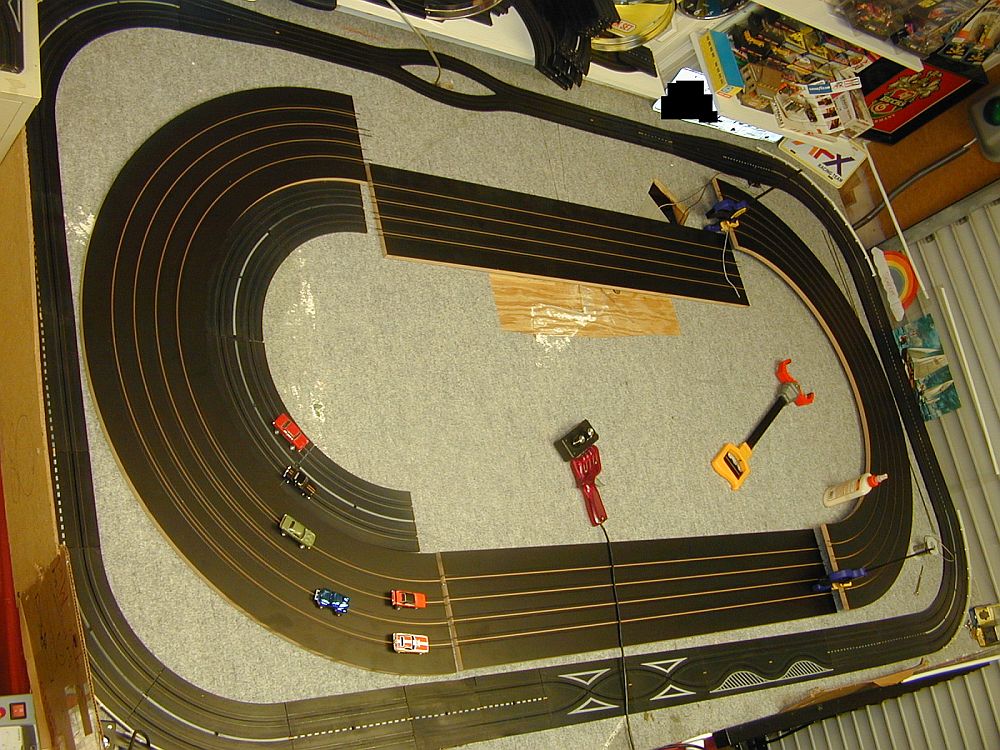
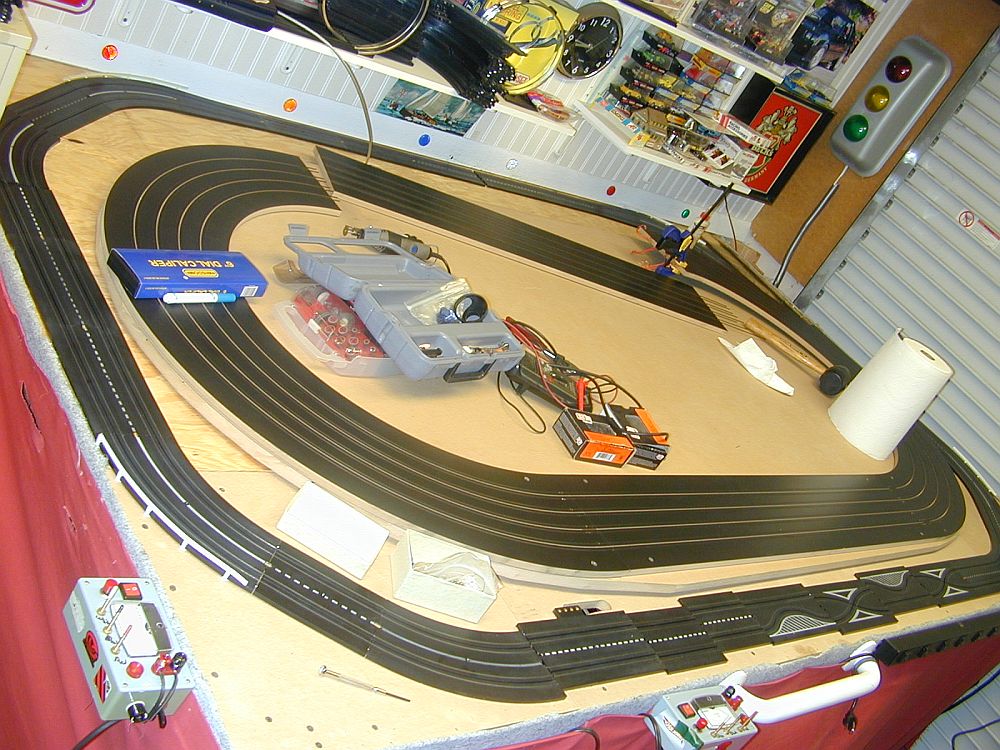
Check out that super rare Aurora O-gauge track. I have it both going around the perimeter of the track and on the inside. The 4x8 oval has a perfect 15-inch radius on the inside for the Aurora O-gauge track. In case you are wondering, O-gauge track came out back in 1963 and was basically a dud at the time since it had to compete with 1/24, 1/32, and HO slot car tracks. The only O-gauge track pieces available are 9-inch straights, 6-inch straights, and 15-inch radius curves. But the joy is in the width of the track: 4.5 inches wide!! That's 1.5 inches wider than regular HO scale track. The lane spacing is even wider than my 4x8 oval. You may also notice some conversion pieces to reduce the lanes down to standard HO track. I am sure glad Aurora had the foresight to produce this specialty track piece. At the time it was produced to help get rid of O-gauge track to the HO slot car ethusiasts. Good thing folks like me can make good use of it some 46 years later!
I plan to remove the dust catching grey carpet and replace it with green paint. I will try my best to raise the inside two lanes to match the curves of the routed track. On the outside, the Aurora O-gauge track will probably be raised even higher than the oval so that it gives a bit of a scenic overview for the cars up there. I think I will do some simple scenic hills to roll the outside track into the 4x8 oval. I also picked up a LapTimer2000 4-lane timing system to add to the new oval. I will reuse my existing timing device from my 1/32 track to wire up the inside and outside O-gauge track. That's the plan anyway...
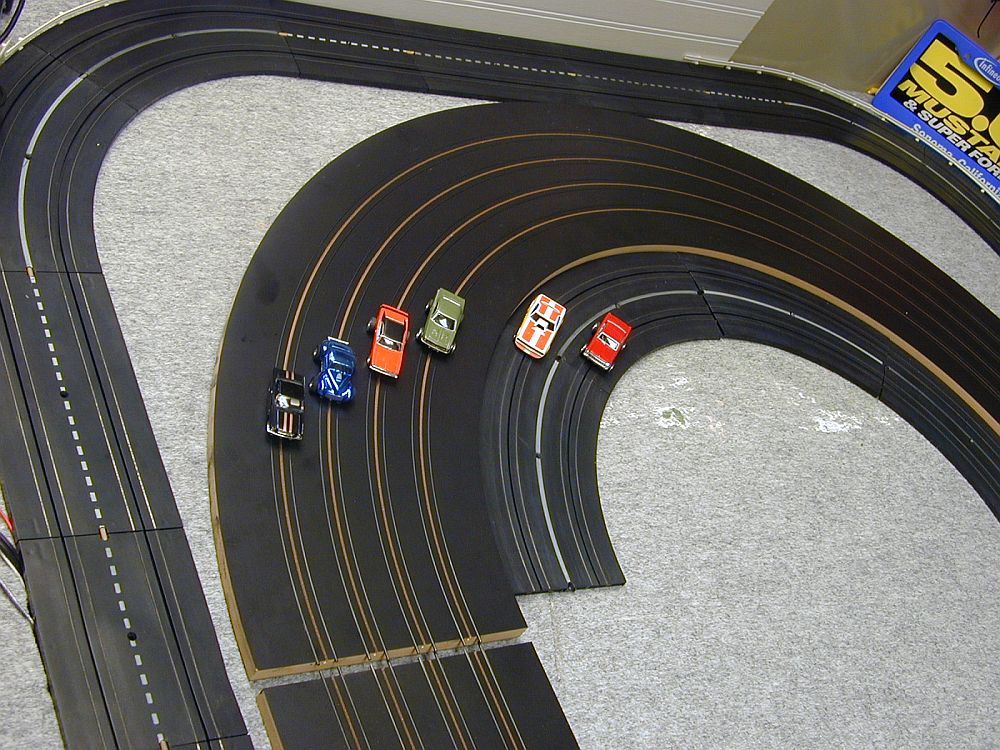
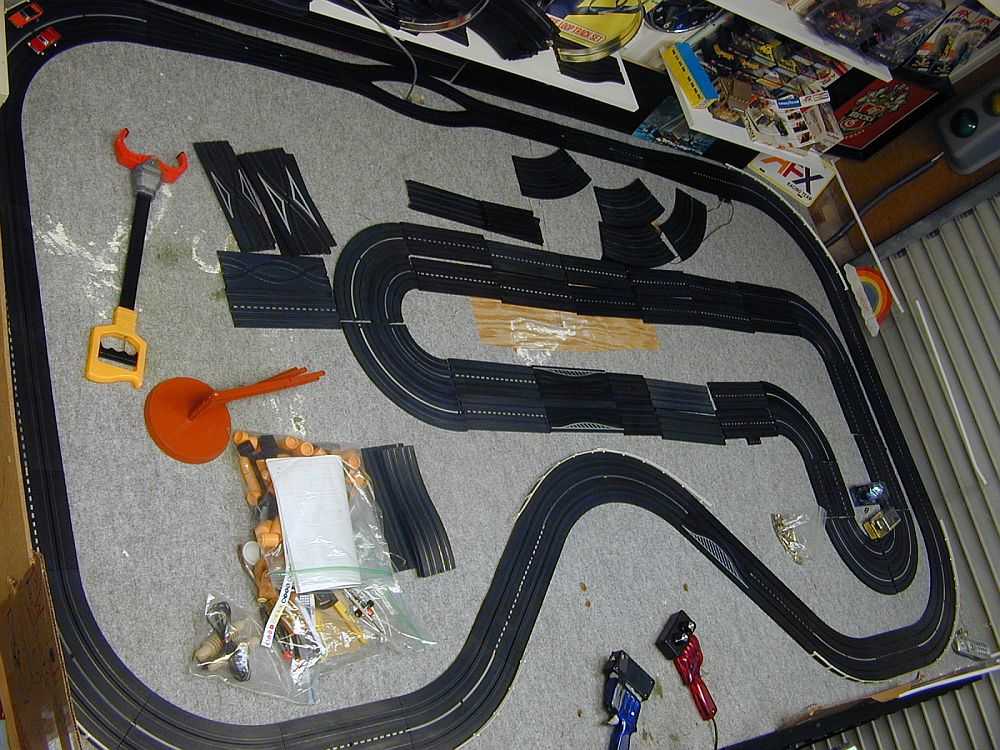
The picture below shows my experiment with a 4-lane inside track using 6-inch radius curves.
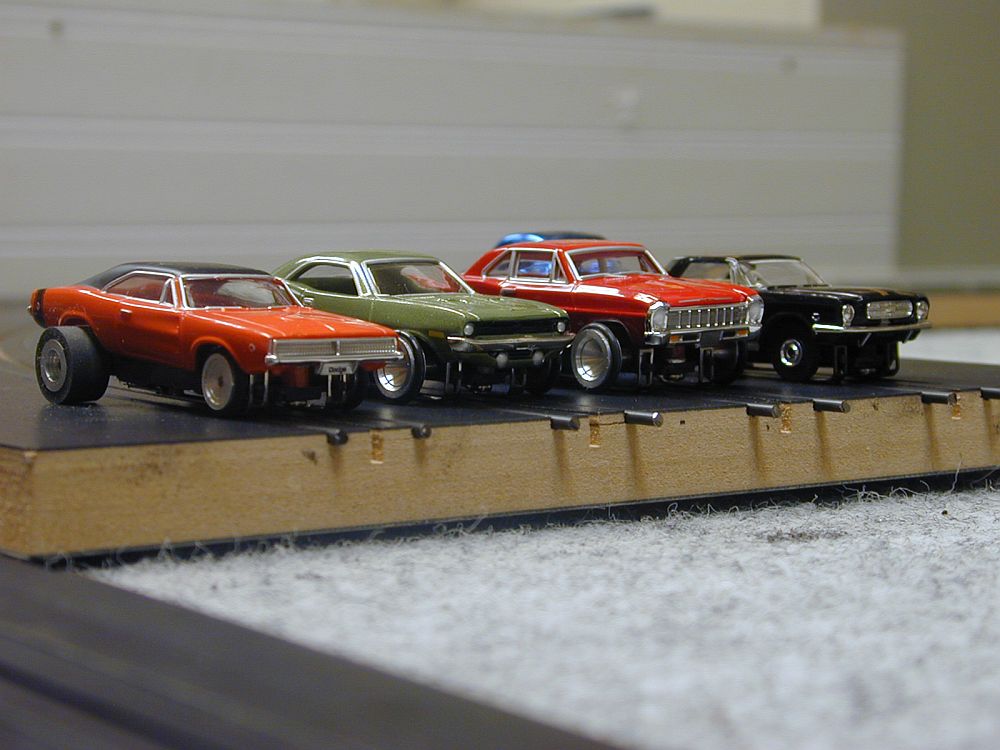
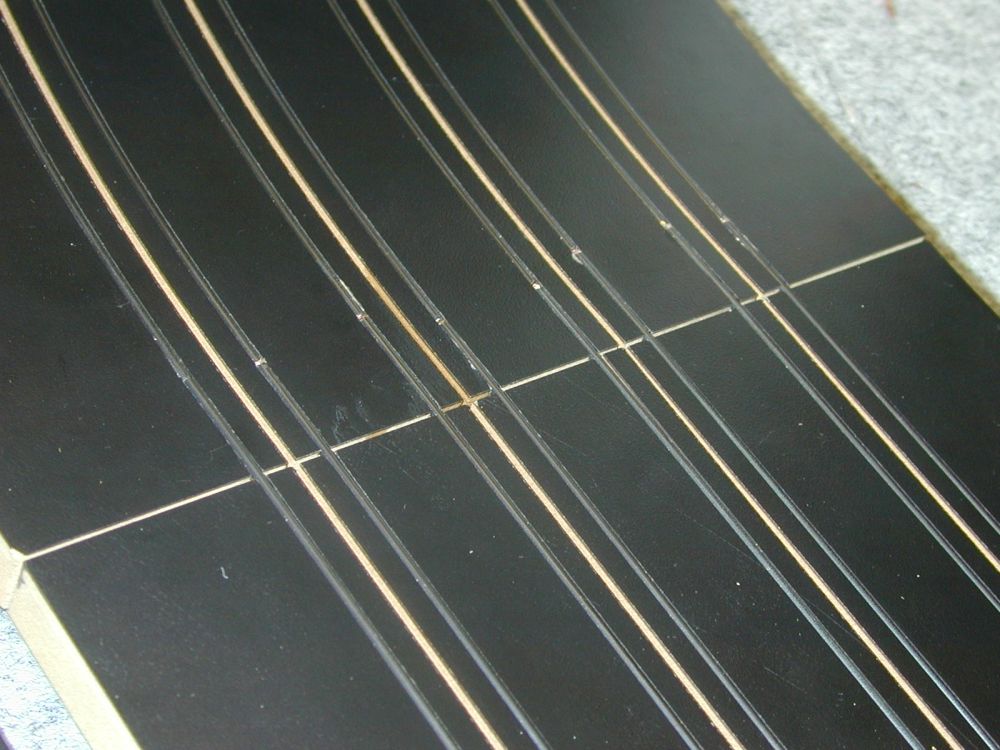
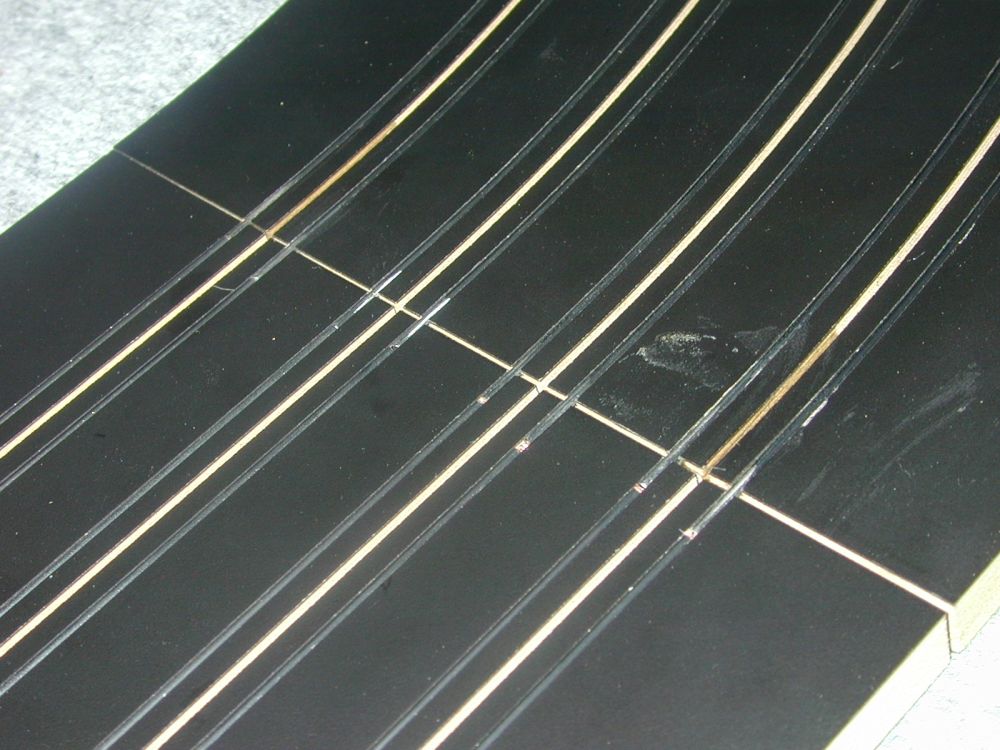
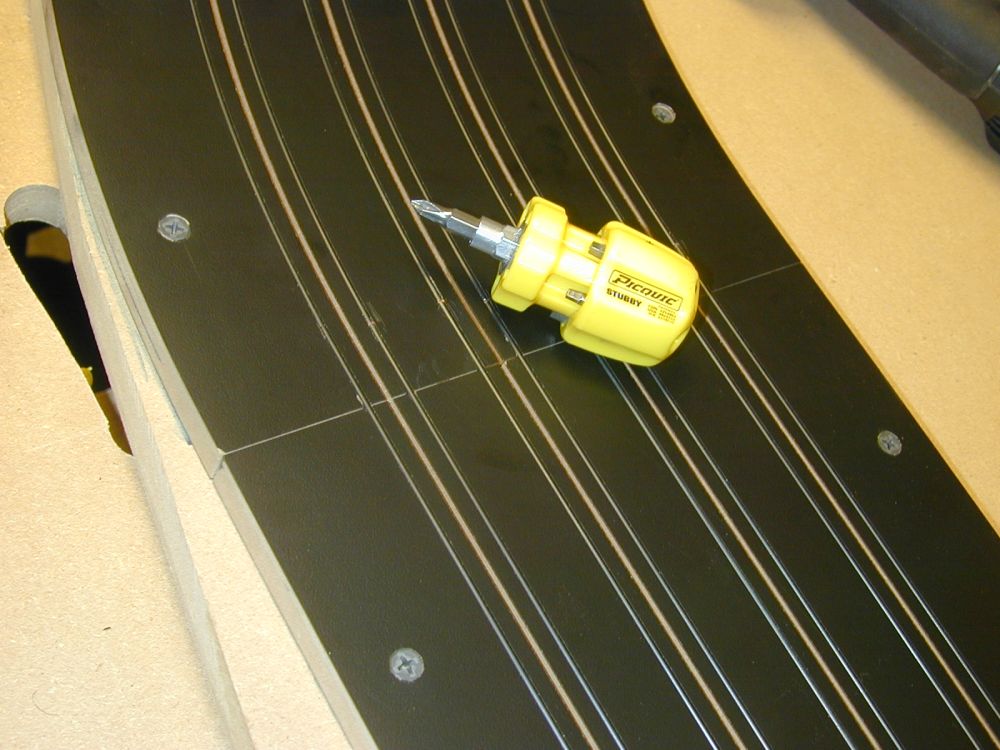
Here's a test fit of the joints on the wood track...it's coming together. Notice I staggered the rods so that they but into the groves of the adjacent section. Seems to provide for a better contact point and keeps the rails level.
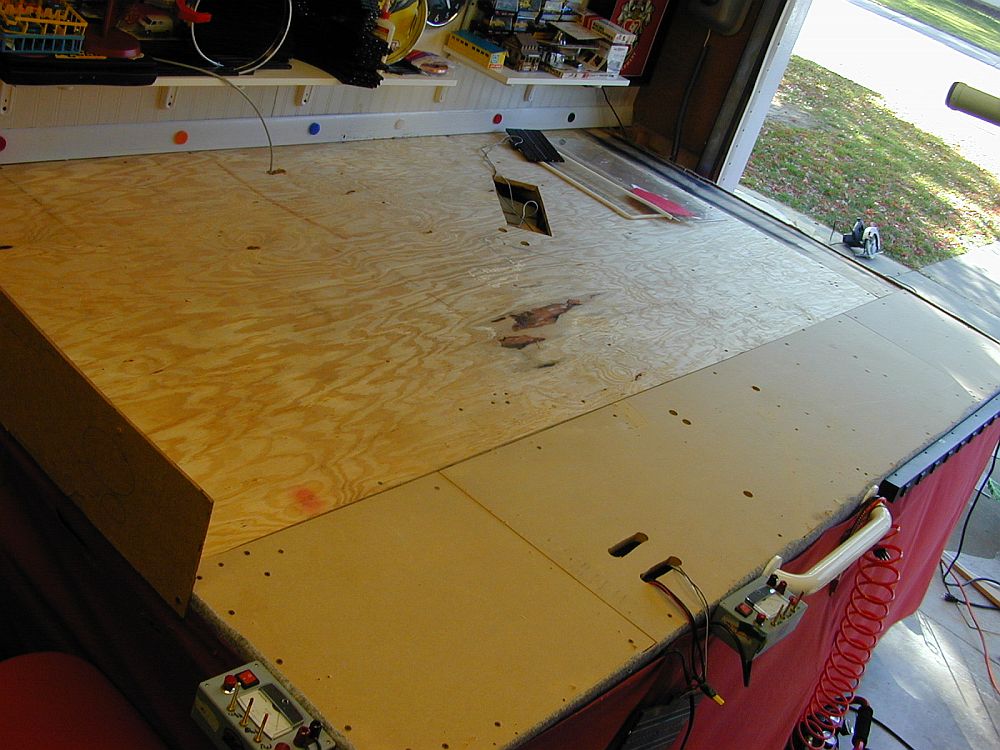
Notice I had to completely clear the table and the carpet. For the routed oval I decided it needed a sturdy base so I used a spare 4x8 sheet of 3/4-inch MDF. I simply used the skill saw to round off the corners to give me enough room for my O-gauge track to run around the perimeter. Oh, and a word to the wise, cut the MDF outside. I was covered in dust when I tried to do it inside even with the garage door open. Big mistake. I recommend to get 10 feet away from your living area at least...a tailwind helps!
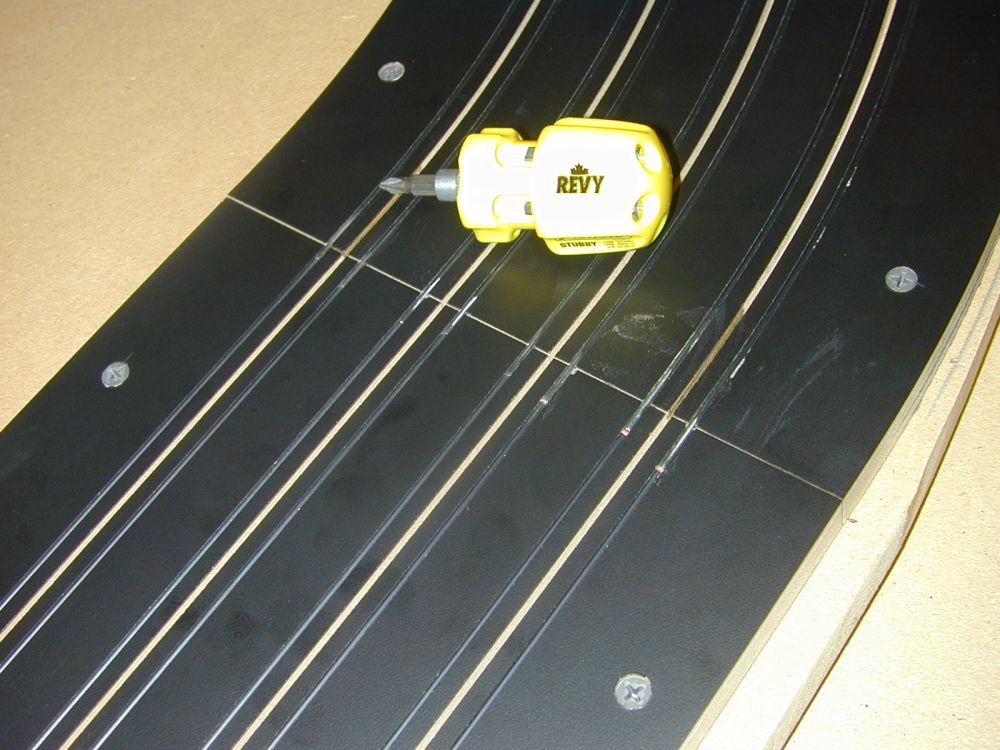
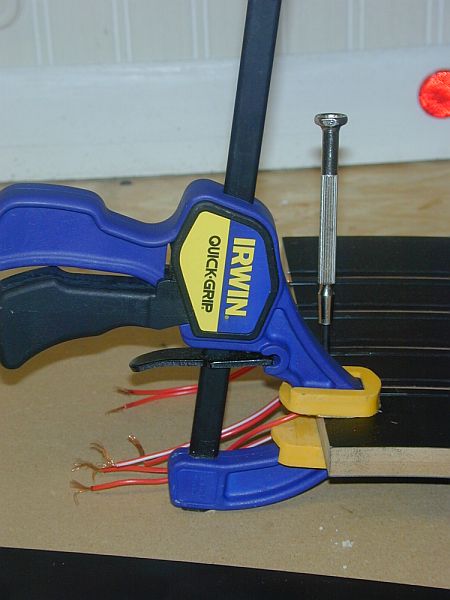
Below I am using a clamp to apply pressure to hold the rail and the broken slot together (with the help of a good wood glue). The weakest link on the track is the small section between the rail and the slot on the side the rail applies pressure against. This would be the rail in the inside of the curve on each lane. The metal rod applies pressure towards the slot with only a tiny bit of MDF/HDF to prevent complete collapse. Fortunately, the wood glue works really well. I also pour a liberal amount of glue in the slot and then scrape it out to help coat the slot in that area. I figure every bit helps. Once the section is joined into the straight, the pressure will be relieved. In retrospect, I probably would have pre-joined a traight and a curve and run only one long rail around but the pressure is really too much for the slot to survive pushing such a long length. Now that I think about it, I think I did the right thing making it in sections.
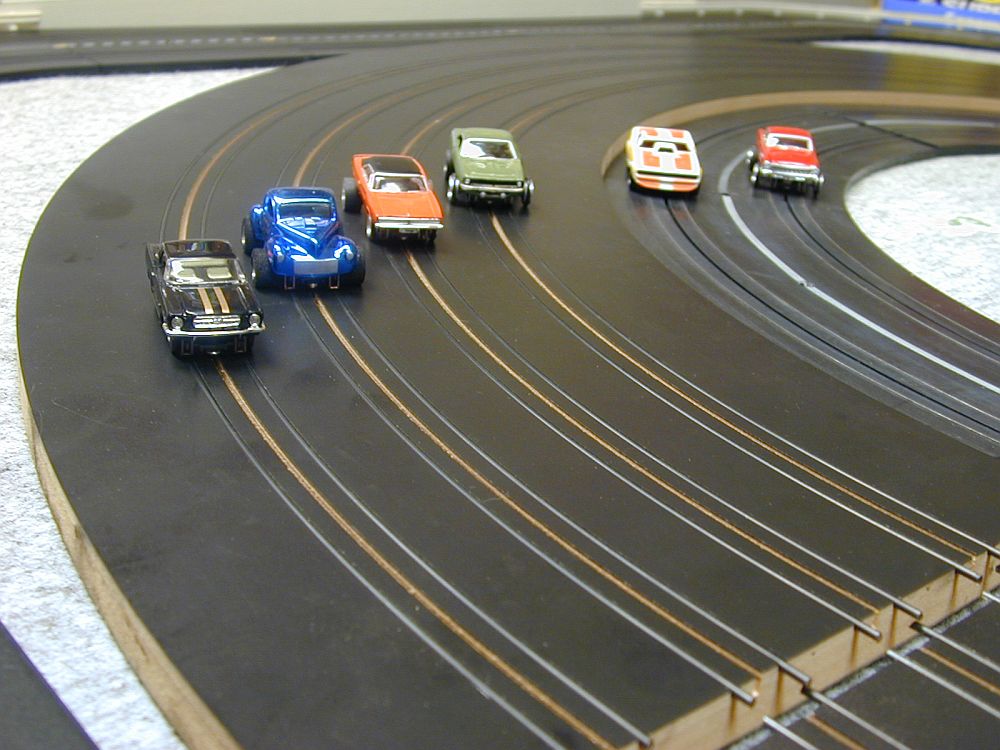
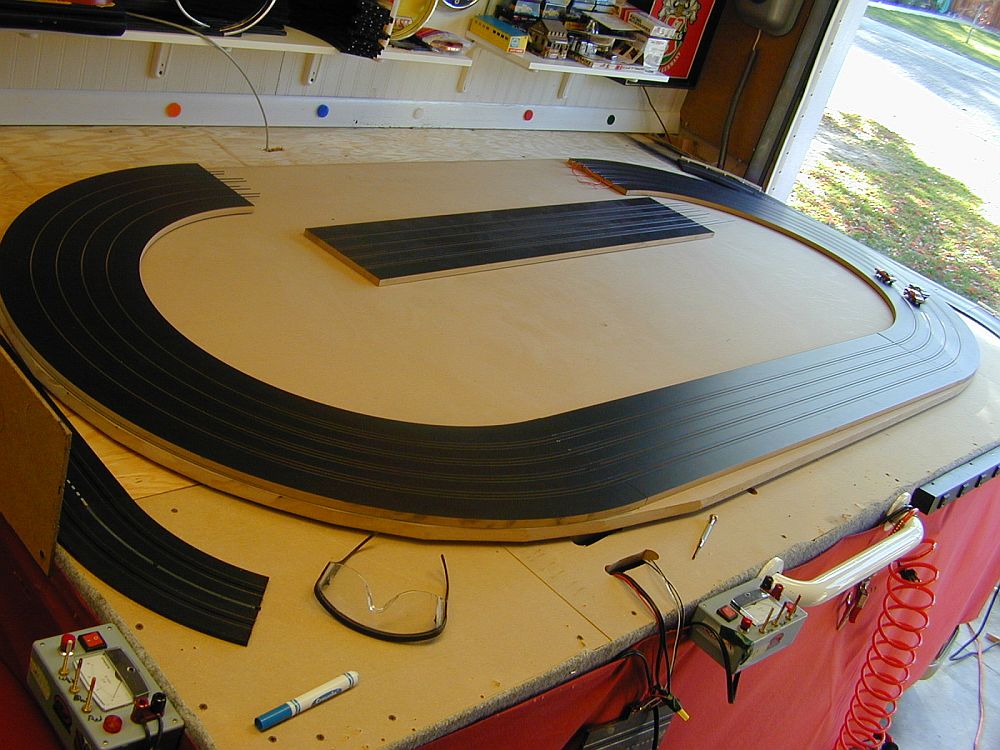
It's all coming together. The nice part is that the oval will be completely removable should I want to do so. The MDF base makes for a very safe base to protect the rails at the critical joints. I am countersinking 4 screws per track piece. Black drywall screws do the trick. With four screws on each joint, it's super easy to crank them down to adjust until the track has a perfect run from one side to the next. Awesome. I'll also have to run some fencing on the outside of the "ring,"
|
Page
1 Page
2 Page
3 Page
4 Page
5 Page
6 Page
7 Page
8 Page
9
Page
10 Page
11 Page
12 Page
13 Page
14 Page
15 Page
16 Page
17 Page
18
Page
19 Page
20 Page
21 Page
22 Night
Driving (23) Making
Tires (24) Brass
Chassis (25)
Switching Scales (26) Routed
HO (27) Rails
Installed (28) Oval
Action (29)
New
1/32 Beginning (30) Construction
(31) Routing
(32) Painting
and Taping
(33) Power Taps
and Timing
(34)
Up and Running (35) Scenery
(36) More Slot
Racing (37)
Once you try it, you'll be hooked!
All Images Copyright Michael Nyberg
2009
All Rights Reserved
Visit: www.outriggercanoe.com