Page
1 Page
2 Page
3 Page
4 Page
5 Page
6 Page
7 Page
8 Page
9
Page
10 Page
11 Page
12 Page
13 Page
14 Page
15 Page
16 Page
17 Page
18
Page
19 Page
20 Page
21 Page
22 Night
Driving (23) Making
Tires (24) Brass
Chassis (25)
Switching Scales (26) Routed
HO (27) Rails
Installed (28) Oval
Action (29)
New
1/32 Beginning (30) Construction
(31) Routing
(32) Painting
and Taping
(33) Power Taps
and Timing
(34)
Up and Running (35) Scenery
(36) More Slot
Racing (37)
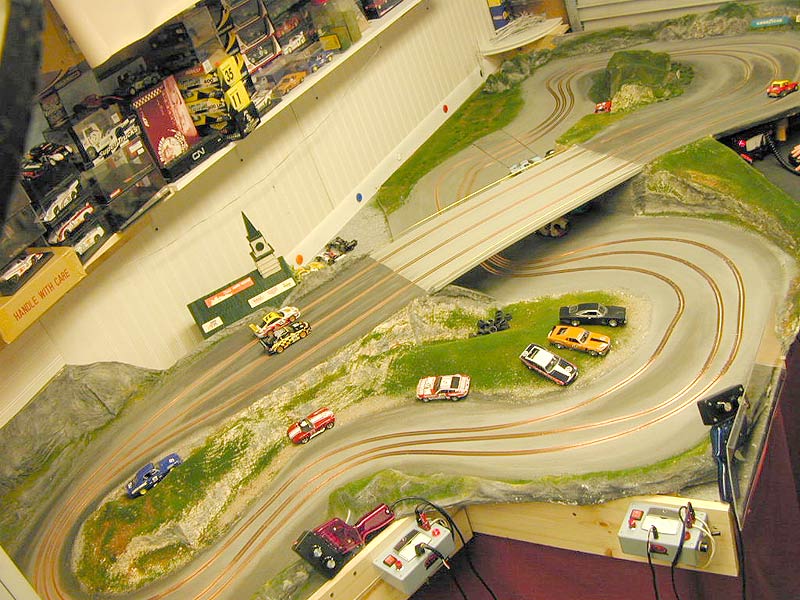
The biggest change here is the rerouting of the off/on ramp to the bridge near the garage door. The inside lane had an unfair chicane that prevented that lane from getting up to full power with the other lanes. Also, the middle lane would cause the car in that lane to deslot due to the proximity.
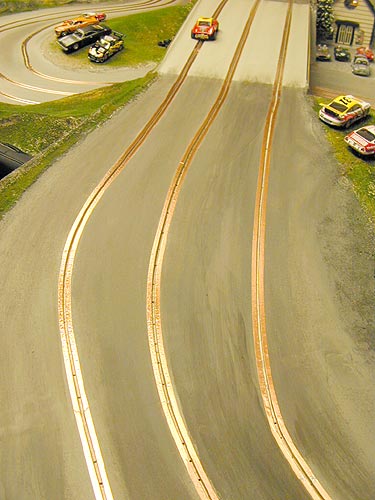
I simply ran the router with the track as it was, copper tape and all. The router made a nice new straight line in no time. I peeled up the old lane's tape and filled it with bondo. I was careful to work the bondo as it setup so that I had minimal sanding once it was hard. In this way, I was able to sculpt my slot and did not need the router again after the initial cut.
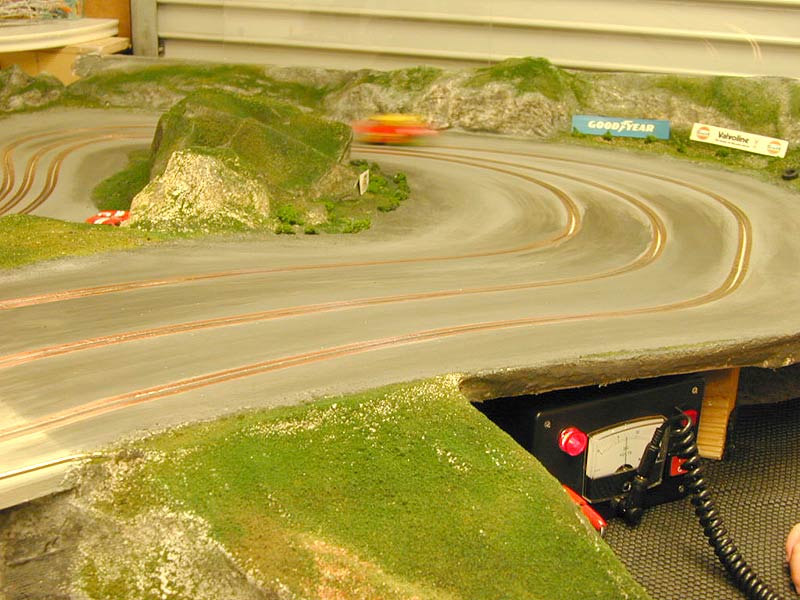
Because my track has that weathered road look, it was easy to simply start streaking the new area and blend it in with the rest of the track. I also took this opportunity to shorten the bridge's green (asphalt) roadway to make it a little more realistic. I then streaked the roadway back and forth over the "joins" between the surfaces.
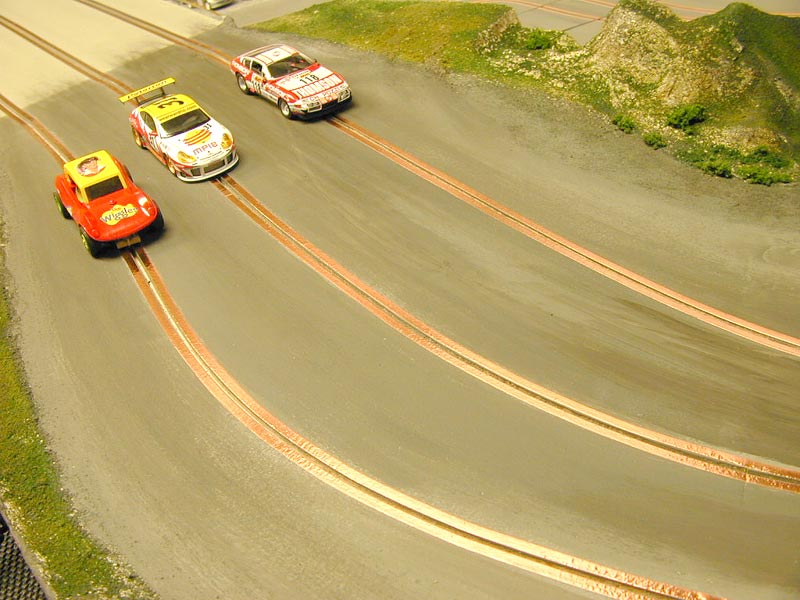
Once the paint dried, I ran some new copper tape and overlayed the existing tape by about a 1/4 inch. I scraped what I could of the sticky residue off and then soldered the joint. My track now reads 0.8 ohms on my ohm meter between any two connection points you choose. After all this the lanes now seem to be very equal in racing. Sweet!
All Images Copyright Michael Nyberg
2005
All Rights Reserved
Visit: www.outriggercanoe.com